- Last Updated:
- 4/17/2025
- Chelsea Ramsey, ACE CPT
To become a yoga instructor, you’ve put hundreds of hours into your practice. You’re an expert in balance and flexibility, and now you want to start filming yoga videos to further expand your reach.
Filming and video production are a whole different skill set – but don’t let that deter you! Learn how to film yoga videos with these expert tips from Insurance Canopy’s Video and Social Media Manager, Rey Kifuri.
- Know the Goals for Your Yoga Videos
- Plan Your Content
- Get the Right Equipment for Recording
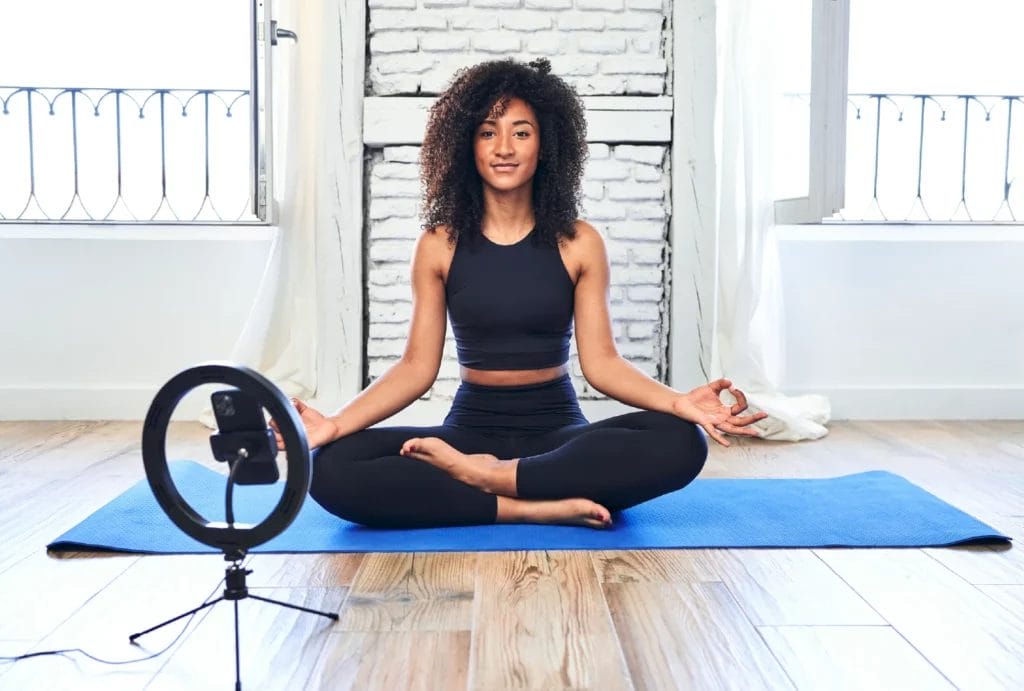
- Find the Right Setup for Filming Yoga
- Film!
- Edit, Upload, and Share Your Videos
- (Bonus!) Protect Your Yoga Instruction With Insurance
1. Set Goals for Your Yoga Videos
Before you start filming, even before you roll out your yoga mat, establish the purpose for your videos. Develop a plan for how you’ll use your yoga videos to ensure you have the right equipment and space?”.
Rey Kifuri, professional photographer and social media manager, says where you upload your yoga videos will depend on what you want from them.
“If you mainly want to share your videos with clients or embed them in a library on your website, YouTube is a great choice. But if you’re hoping to build your brand or share quick tips, Instagram or TikTok are the way to go. You can experiment with YouTube Shorts, TikTok, and Instagram Reels to see which platform works best for your audience.”
Per Kifuri, the platform(s) you plan to use will also influence how you stage your camera and other equipment.
Tips from our expert:
- To film yoga videos for YouTube, film horizontally (16:9 ratio)
- To film yoga videos for Instagram Reels or TikTok, film vertically (9:16)
- To get the most out of your videos, film horizontally in 4K and leave extra space around you so you can crop it into vertical later
2. Plan Your Content
The best way to film a yoga video is to develop a thoughtful plan first. Recording is much easier and smoother when:
- You know what poses, transitions, and flows you want to capture
- You know if you’re using live audio or plan to add voiceovers later
- You have all the accessories you need, and they’re easily accessible (no leaving the frame or restarting the video just to get a block)
- You know what end results you want (a continuous class session or a compilation of poses you can split up and piece together)
Expert tip: If you’re filming a full session, record your intro first, then go straight into the poses. Or, break it up into sections — intros, individual poses, outros — and edit them together later.
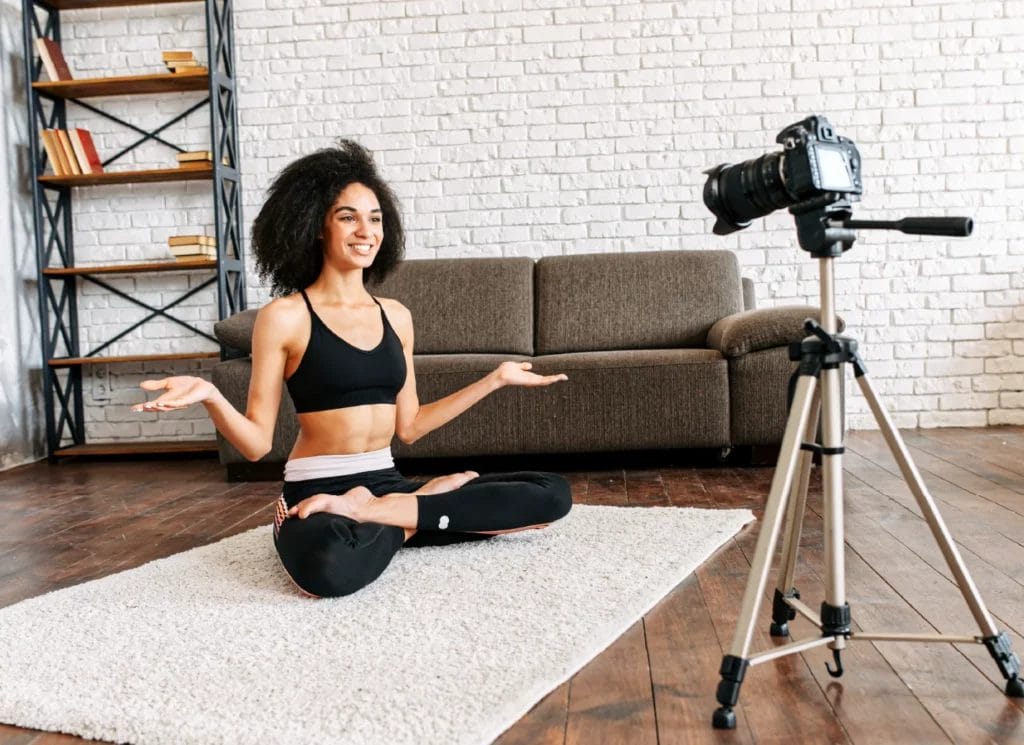
3. Get the Right Equipment for Recording
The basic recording equipment you need to film a yoga video includes:
- Camera(s)
- Tripod
- Lights
- Mic
While a good smartphone can do the job, says Kifuri, a few key pieces of gear will significantly improve video quality.
Cameras and Tripods
Kifuri recommends the Canon R8 as the best camera for filming yoga videos because it’s “a great, affordable, mirrorless camera that’s lightweight, films in 4K, and it’s a full frame, which is helpful for wider shots.”
She also suggests using a wide angle lens, under a 35mm focal length, to capture your whole body better, stating, “I usually go with a 16mm or 24mm lens to keep everything in frame.”
Tripods are essential for keeping shots steady, no matter what camera you use. For tripods, Kifuri recommends Manfrotto as a brand, but if you’re on a budget, Neewer has solid options, too.
Lights
If you can access reliable natural light, skip the extra gear and focus on setting up in that natural light. If you record outdoors, avoid filming in direct sunlight, as it can create harsh shadows that make it harder for viewers to see you!
If you can’t use natural light, you’ll need three other light sources: a key light, a fill light, and a backlight.
“I recommend using softboxes for a soft, even glow. I personally love my Aputure key light with the Aputure Light Dome SE, but Neewer also offers budget-friendly light sets. If you’re going for a cozy vibe, look for lights that let you adjust the warmth or coolness of the color temperature and lean toward the warmer side. Softboxes give you an even, flattering look.”
– Rey Kifuri, Insurance Canopy Video & Social Media Manager
Mics
If you’re doing voiceovers on your videos, you need a high-quality mic, a quiet recording space, and headphones for clear audio. USB microphones like Blue Yeti are popular choices and can be used with computers and laptops.
If you want to record live sound while filming, Kifuri suggests a wireless mic like the Rode Wireless GO, which provides clear audio while you’re moving.
Expert equipment recs:
- Mirrorless cameras: Canon EOS R8 or Canon EOS RP
- Tripod: Manfrotto Compact Action
- Key lights and softboxes: Aputure Light Dome SE
- Wireless microphone: Rode Wireless GO
- Budget tripods, lights, and other equipment: Neewer tripods and lights
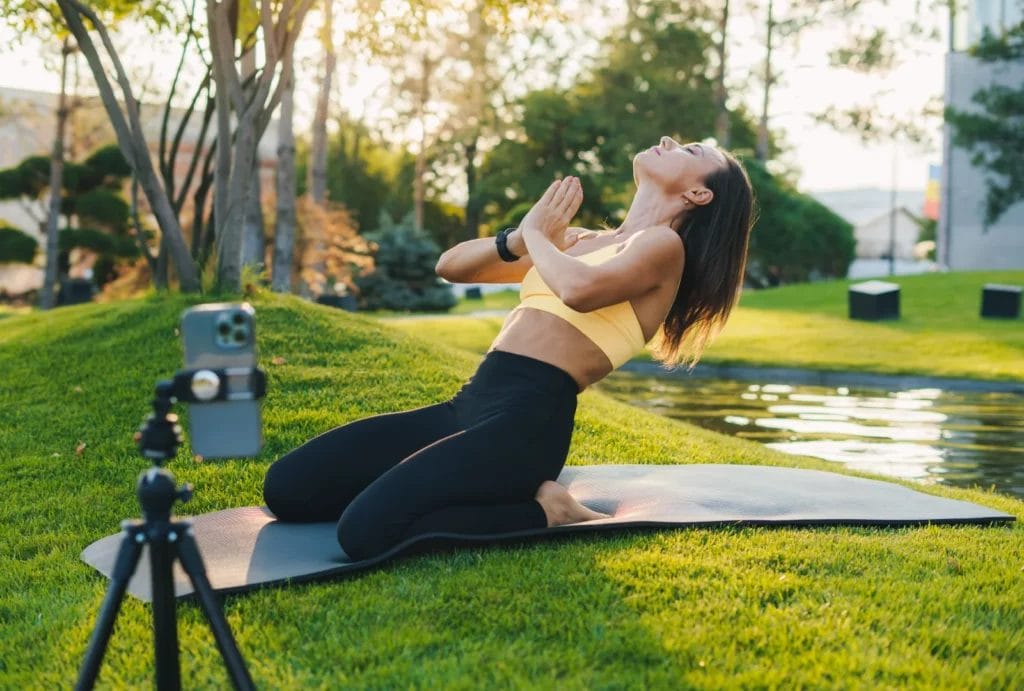
4. Find the Right Setup for Filming Your Videos
When learning how to film yourself doing yoga, make sure your filming space has the following:
- Quality natural light or space to set up lighting
- Low background noise
- Minimal shadows
- Clean and uncluttered environment
When setting up your camera and other equipment, remember angles and lighting.
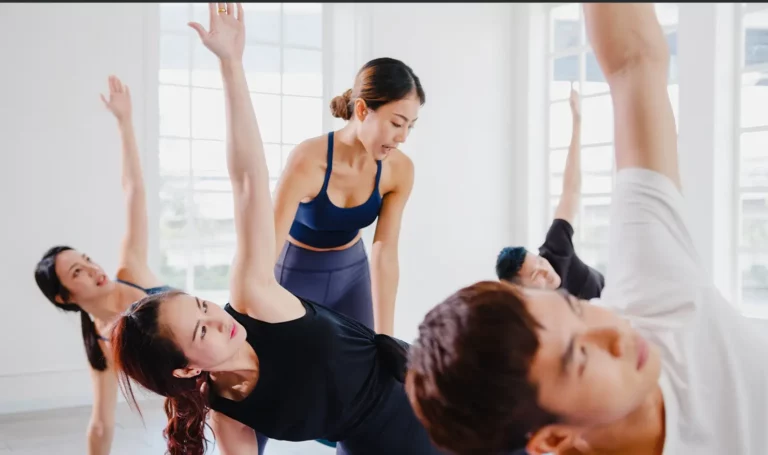
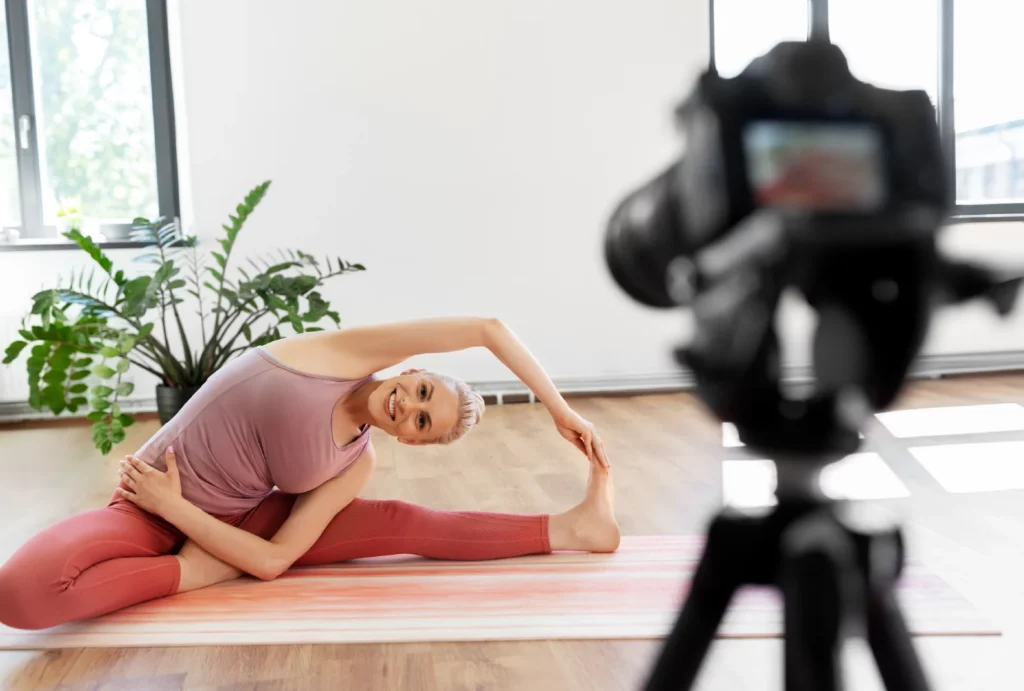
The Best Angles and Framing for Yoga Poses
Test filming from several angles to ensure viewers can clearly see your movements.
Per Kifuri, a “side view is great for showing alignment, and a high angle gives a nice full-body shot in motion. Let your viewers know where to focus, especially when explaining specific movements or poses.”
Expert tips:
- Start with a wide shot so viewers can see your whole body, plus some space around you
- A side view is helpful to show how your body moves through the poses
- If you’re doing low poses, try placing the camera at hip level and angle it slightly down so your body stays in the frame
- For more complex poses, film from both the side and front so viewers can see all the details
When setting up your camera, make sure it keeps you in focus. You don’t want to spend all that time filming your yoga videos to discover you were blurry and out of focus!
Most cameras have reliable autofocus features with face or object tracking. Our video expert suggests that if you’re filming yourself, plug your camera into a computer monitor and set it up where you can see yourself to make sure you’re staying in focus.
How to Light Your Yoga Video
If you’re using artificial lights, make sure the lighting is even.
“Start with a key light at a 45-degree angle to light your face and body. Add a fill light on the opposite side to soften any shadows. A backlight behind you (slightly off-center) can help you pop from the background. Softboxes are a great option to diffuse the light and keep it soft and flattering.”
If you’re using natural light, Kefuri recommends facing the window or light source for a soft, even glow.
“If the light’s too harsh, throw a sheer curtain up to soften the light and avoid harsh shadows. If you want the window in the shot for an aesthetic vibe, just adjust your exposure so you don’t end up as a silhouette.”
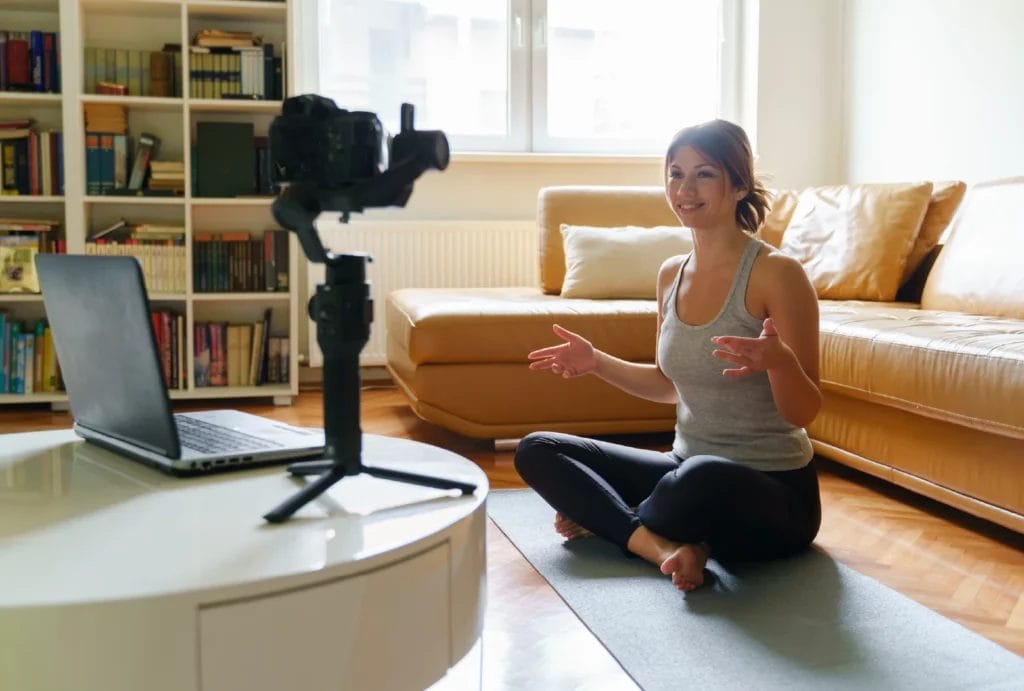
5. Film!
Once you’ve set up your stage, lights, and camera, it’s time to film your yoga videos!
If you’re using live audio, make sure your mic is secure and recording correctly. Speak clearly at an even pace. Don’t rush.
Remember to include any necessary pauses between poses or flows if you plan on piecing together different segments or need to add in additional edits to the videos later.
Pro tip: Be Yourself. People love authenticity, so don’t be afraid to show your personality. Starting each video with a quick intro to explain what you’ll be teaching helps build a connection with your viewers and keeps them engaged.
6. Edit, Upload, and Share Your Yoga Videos
If you’ve followed the above tips, your video should already look solid! If needed, you can easily “edit out mistakes or awkward moments with apps like CapCut or Canva,” says Keyfuri.
“For a polished touch, consider adding an intro…and a voiceover to guide viewers through the poses,” she adds. You can also add text overlays or captions during the editing process.
Background music should not be overly distracting. It is not necessary, but it can add to the overall vibe or enhance the mood of your videos. However, if you do this, you need a license to use that music.
Expert tip: Find and license music easily using MotionArray or Canva has options
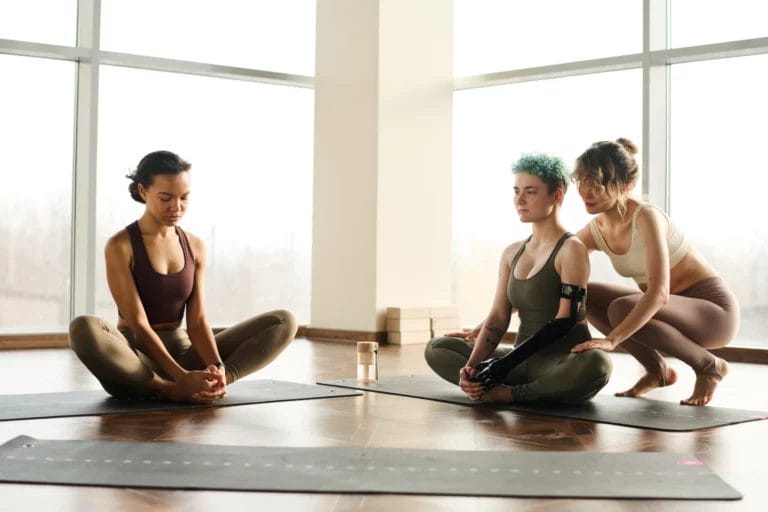
(Bonus!) Protect Your Yoga Instruction with Insurance
Even when teaching virtually, accidents happen, and you might be held liable for injuries clients sustain while following your video or from advice you gave in a recording.
Protect your business and all your time and effort in filming yoga videos for your clients with yoga instructor liability insurance.
Plus, if your yoga videos or business is online, you have a greater risk of being hacked. To protect you in the event of a cyber security breach against you or your clients, Insurance Canopy offers optional cyber liability coverage.
Frequently Asked Questions About Filming Yoga Videos
How Can I Make My Yoga Video More Engaging for Viewers?
Infuse your videos with authenticity and personality! Content that resonates with or speaks directly to your audience tends to make the biggest impact.
Discover more tips and ideas for yoga marketing and making your videos stand out.
Do I Need Liability Insurance When Filming and Sharing Yoga Videos?
Yes!
Yoga teacher insurance is designed to protect you from claims and lawsuits brought against you by people who engage with you online, in person, or via pre-recorded videos.
How Do I Edit My Yoga Video to Make It Look Professional?
Use editing software like CapCut, CyberLink PowerDirector 365, Adobe After Effects, or Final Cut Pro.
Intros, outros, voiceovers, and relevant captions are additional ways to make your yoga videos look professional.